
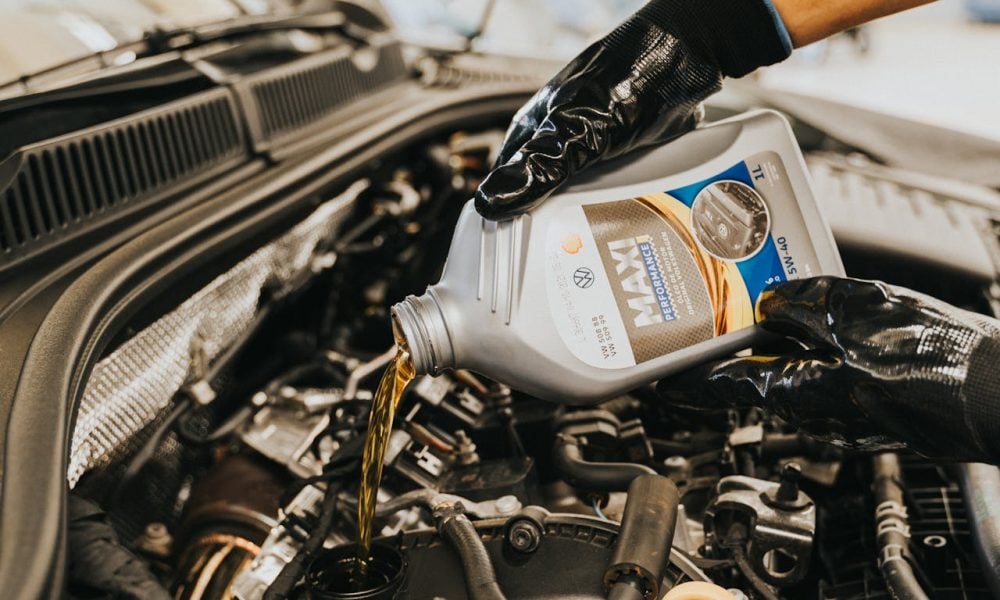
How to Change Engine Oil at Home in 10 Simple Steps
Maintaining your car’s engine is essential, but taking it to the shop for routine oil changes can be inconvenient and costly. Long waits, expensive service fees, and unnecessary upsells frustrate many drivers. The good news? You can save time and money by learning how to change engine oil at home. This comprehensive guide will explore simple steps to change engine oil and keep your vehicle running smoothly without breaking the bank.
Step 1: Raise the Vehicle
Start by safely raising your car to access the oil pan’s drain plug. Drive the vehicle onto ramps or use a jack and secure it with jack stands. Double-check the stability to prevent accidents. Working under an unstable vehicle is dangerous, so take this step seriously to avoid injuries.
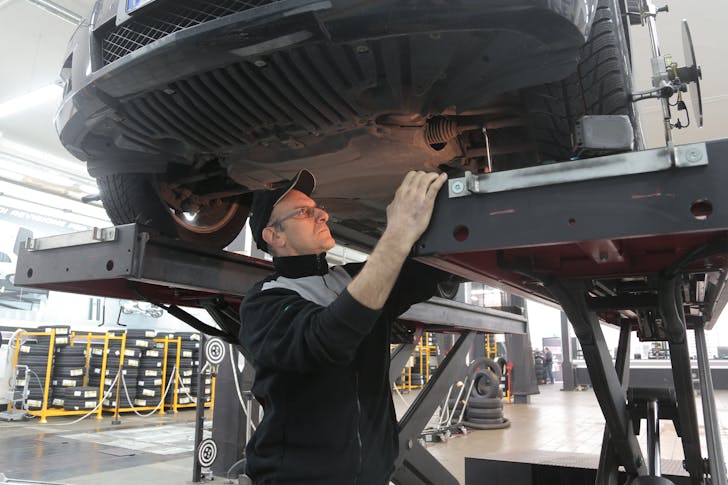
Andrea Piacquadio | Pexels | To change your engine oil, raise your car safely to access the oil pan’s drain plug.
Step 2: Position the Catch Pan and Remove the Drain Plug
Place a catch pan under the oil pan to collect the old oil. Ensure the pan is large enough to hold the full volume. Use a socket wrench to loosen the drain plug, then remove it carefully by hand. Be cautious, as the oil may still be hot and could burn your skin.
Step 3: Let the Oil Drain and Inspect the Vehicle
Allow the old oil to drain fully into the catch pan. This process usually takes a few minutes. While waiting, inspect the area for signs of leaks, damage, or wear on visible components. Identifying issues early can save on repairs later.
Step 4: Reinstall the Drain Plug and Torque It Properly
Clean the drain plug and oil pan threads before reinstalling. Check the condition of the plug threads for damage and replace the plug if needed. Tighten it with a socket wrench to the torque specification provided in your vehicle’s owner’s manual. This ensures a secure seal without over-tightening.
Step 5: Remove the Old Oil Filter
Locate the oil filter, which is often accessible by hand or with an oil filter wrench. Turn the filter counterclockwise to remove it. Be prepared for some oil to spill from the filter as it’s removed. Handle it carefully to minimize messes and avoid dropping it.
Step 6: Clean the Mounting Surface and Inspect the O-Ring
Clean the mounting surface after removing the oil filter to remove any residue. Check that the old O-ring isn’t stuck to the engine’s mounting plate. A leftover O-ring can cause leaks when the new filter is installed, so this step is essential.
Step 7: Prepare the New Filter and Install It
Lubricate the O-ring on the new oil filter with fresh oil to ensure a smooth fit. Screw the filter onto the mounting plate by hand until it’s snug. Tighten it an additional three-quarters to one full turn to secure it. Follow the filter’s specific instructions for the best results.
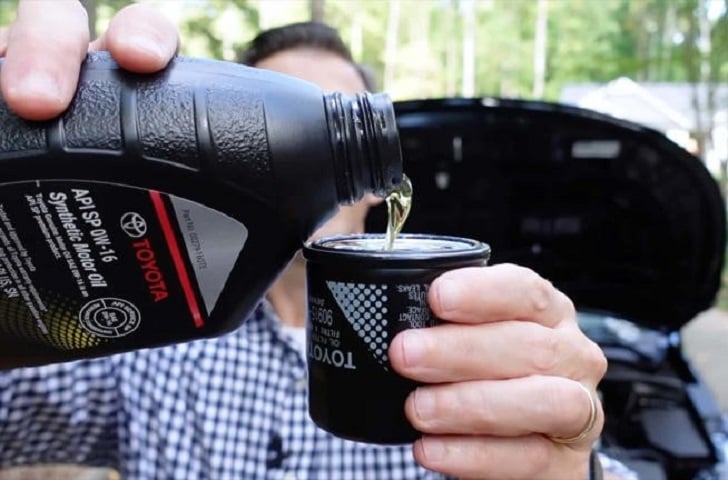
Brian Silvestro | MSN | To ensure a smooth fit, lubricate the O-ring on the new oil filter with fresh oil.
Step 8: Add New Oil to the Engine
Remove the oil fill cap on the top of the engine and place a funnel in the opening. Pour the recommended amount and type of oil specified in your owner’s manual into the funnel. Using the correct viscosity ensures optimal engine performance and longevity.
Step 9: Replace the Oil Fill Cap and Start the Engine
Securely replace the oil fill cap and start the engine. Let it idle for about 30 seconds while observing the drain plug and oil filter for leaks. If you spot any oil leaks, stop the engine and address the issue immediately to prevent further problems.
Step 10: Check the Dipstick Level After Lowering the Vehicle
Once the engine is off, allow the oil to settle for about 30 seconds. Lower the car from the jack or ramps. Remove the dipstick, wipe it clean, and reinsert it fully. Pull it out again to check the oil level. Add more oil as necessary to match the level indicated in the manual.
More inAdvice
-
`
 What Qualifies a Vehicle for Classic Car Insurance?
Owning a classic car is about more than preserving an older vehicle. Many enthusiasts appreciate vintage automobiles because they are easier...
July 12, 2026 -
`
 NHTSA Launches ‘Special Investigation’ After Fatal Tesla Crash Into Texas Home
A deadly Tesla crash in Texas is now at the center of a federal safety investigation. The U.S. National Highway Traffic...
July 8, 2026 -
`
 “Grand Theft Auto VI” Cover Art Revealed
Rockstar Games gave fans a fresh look at “Grand Theft Auto VI” after releasing the game’s official cover art on Thursday....
July 5, 2026 -
`
 Why ‘Super Commuting’ Is Becoming a New Normal in Northern California
For thousands of workers across Northern California, a long drive to work is no longer an occasional inconvenience. It has become...
July 3, 2026 -
`
 Why Advanced Headlights Used Worldwide Are Still Restricted in America
Night driving was once associated with quieter roads and a calmer driving experience. Today, many motorists face a different reality. Intense...
June 28, 2026 -
`
 How 2026 Graduates Can Establish a Solid Financial Ground for Future Decades
Graduation marks the beginning of a new financial chapter filled with opportunities, responsibilities, and choices that can shape the future. The...
June 26, 2026 -
`
 Is Running Your AC All Day Saving Money or Raising Energy Bill?
As temperatures climb, air conditioners become one of the hardest-working appliances in many homes. A common belief is that keeping an...
June 21, 2026 -
`
 Everything You Ought to Know About Car Insurance in Texas
Texas drivers cover millions of miles every day. They go through packed highways in Houston, long stretches of interstate roads in...
June 18, 2026 -
`
 Why Liability Auto Insurance Is Required but Full Coverage Isn’t
Car insurance rules often feel uneven. One part is enforced by law, while another is left to personal choice or financial...
June 14, 2026
More From CashRoadster
-
 Adding Your Teen to Your Car Insurance? Costs and Ways to Save
A newly licensed teen can bring excitement to a household, but the first auto insurance bill may bring a surprise. Young...
DrivingSeptember 19, 2026 -
 Here’s How Much Spending Money Your College Student Should Get
The tuition is paid, the dorm room is booked, the meal plan is set, and the car is packed. Your college...
AdviceSeptember 18, 2026 -
 How Much Money Should You Keep in an Emergency Fund?
With everyday expenses remaining high across the U.S. in 2026, an emergency fund can provide a needed buffer when an unexpected...
AdviceSeptember 13, 2026 -
 How Staying With the Same Car Costs You More in Insurance
Loyalty usually sounds like something a company should reward. Stay with the same business for years, pay your bills on time,...
Car InsuranceSeptember 11, 2026 -
 State Farm Is Sending Out $5 Billion in Dividends. Here’s Who Qualifies
After several years of rising auto insurance costs, some State Farm customers are now getting money back. State Farm has started...
Car InsuranceSeptember 6, 2026
You must be logged in to post a comment Login