
How to Change Engine Oil at Home in 10 Simple Steps
Maintaining your car’s engine is essential, but taking it to the shop for routine oil changes can be inconvenient and costly. Long waits, expensive service fees, and unnecessary upsells frustrate many drivers. The good news? You can save time and money by learning how to change engine oil at home. This comprehensive guide will explore simple steps to change engine oil and keep your vehicle running smoothly without breaking the bank.
Step 1: Raise the Vehicle
Start by safely raising your car to access the oil pan’s drain plug. Drive the vehicle onto ramps or use a jack and secure it with jack stands. Double-check the stability to prevent accidents. Working under an unstable vehicle is dangerous, so take this step seriously to avoid injuries.
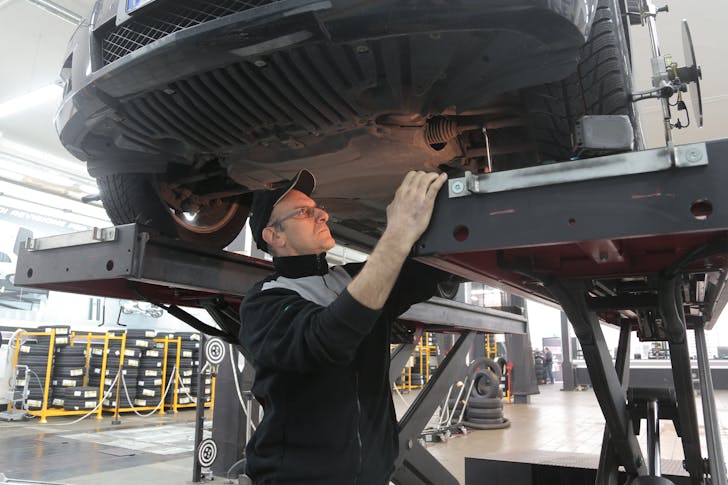
Andrea Piacquadio | Pexels | To change your engine oil, raise your car safely to access the oil pan’s drain plug.
Step 2: Position the Catch Pan and Remove the Drain Plug
Place a catch pan under the oil pan to collect the old oil. Ensure the pan is large enough to hold the full volume. Use a socket wrench to loosen the drain plug, then remove it carefully by hand. Be cautious, as the oil may still be hot and could burn your skin.
Step 3: Let the Oil Drain and Inspect the Vehicle
Allow the old oil to drain fully into the catch pan. This process usually takes a few minutes. While waiting, inspect the area for signs of leaks, damage, or wear on visible components. Identifying issues early can save on repairs later.
Step 4: Reinstall the Drain Plug and Torque It Properly
Clean the drain plug and oil pan threads before reinstalling. Check the condition of the plug threads for damage and replace the plug if needed. Tighten it with a socket wrench to the torque specification provided in your vehicle’s owner’s manual. This ensures a secure seal without over-tightening.
Step 5: Remove the Old Oil Filter
Locate the oil filter, which is often accessible by hand or with an oil filter wrench. Turn the filter counterclockwise to remove it. Be prepared for some oil to spill from the filter as it’s removed. Handle it carefully to minimize messes and avoid dropping it.
Step 6: Clean the Mounting Surface and Inspect the O-Ring
Clean the mounting surface after removing the oil filter to remove any residue. Check that the old O-ring isn’t stuck to the engine’s mounting plate. A leftover O-ring can cause leaks when the new filter is installed, so this step is essential.
Step 7: Prepare the New Filter and Install It
Lubricate the O-ring on the new oil filter with fresh oil to ensure a smooth fit. Screw the filter onto the mounting plate by hand until it’s snug. Tighten it an additional three-quarters to one full turn to secure it. Follow the filter’s specific instructions for the best results.
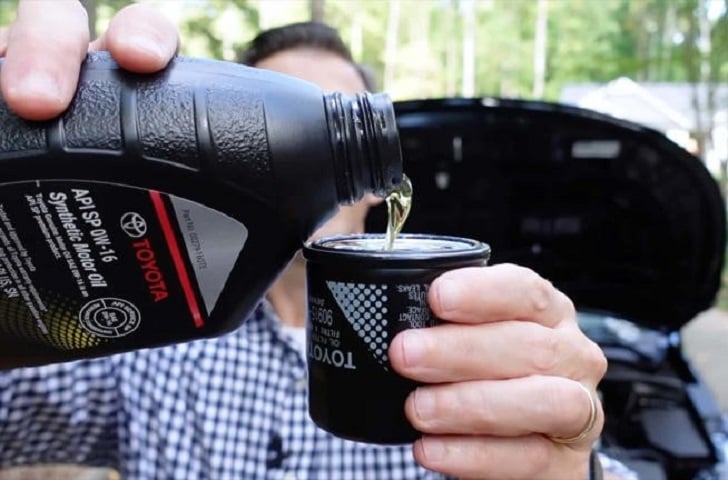
Brian Silvestro | MSN | To ensure a smooth fit, lubricate the O-ring on the new oil filter with fresh oil.
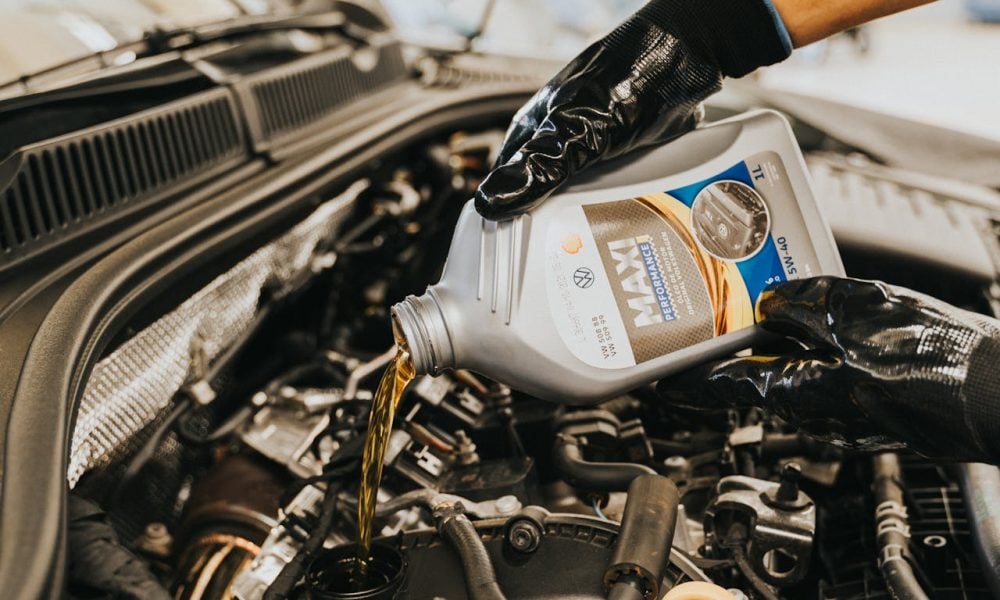
Step 8: Add New Oil to the Engine
Remove the oil fill cap on the top of the engine and place a funnel in the opening. Pour the recommended amount and type of oil specified in your owner’s manual into the funnel. Using the correct viscosity ensures optimal engine performance and longevity.
Step 9: Replace the Oil Fill Cap and Start the Engine
Securely replace the oil fill cap and start the engine. Let it idle for about 30 seconds while observing the drain plug and oil filter for leaks. If you spot any oil leaks, stop the engine and address the issue immediately to prevent further problems.
Step 10: Check the Dipstick Level After Lowering the Vehicle
Once the engine is off, allow the oil to settle for about 30 seconds. Lower the car from the jack or ramps. Remove the dipstick, wipe it clean, and reinsert it fully. Pull it out again to check the oil level. Add more oil as necessary to match the level indicated in the manual.
More inAdvice
-
`
 Who’s Covered by Car Insurance – the Vehicle or the Driver?
A common misunderstanding about auto insurance often leaves drivers confused when accidents happen. Many people assume that their car insurance covers...
November 7, 2025 -
`
 GameSnacks Stays on Android Auto, but Oreo Users Will Lose Access
Many Android Auto users recently panicked when their favorite in-car gaming app, GameSnacks, suddenly disappeared. Luckily, there’s no reason to worry....
October 31, 2025 -
`
 Tesla’s FSD Software Under Investigation After Railroad Incident
Federal regulators have begun a sweeping review of Tesla’s Full Self-Driving software. The National Highway Traffic Safety Administration (NHTSA) announced a...
October 24, 2025 -
`
 Expert Tips for Protecting Your Home From Natural Disasters
Preparing for natural disasters rarely tops anyone’s weekend to-do list. Yet, with unpredictable weather becoming more common, protecting a home against...
October 17, 2025 -
`
 How the New EBT Auto Insurance Discount Guide Helps Low-Income Drivers Save Money
With grocery prices, gas, and utility bills climbing, many families are struggling to make their paychecks last. For those already watching...
October 9, 2025 -
`
 Why Truck Manufacturers Are Shifting from Diesel to Hydrogen
Hydrogen is emerging as a promising alternative for trucks, offering both high energy efficiency and longer driving ranges. Ashok Leyland, for...
October 2, 2025 -
`
 Ohio Driver’s License Laws Are Changing for Young Adults in 2025
Getting a driver’s license is a milestone, but for young adults in Ohio, the process is about to become more structured....
September 25, 2025 -
`
 Why 1 in 4 Americans Trust RFK Jr. for Medical Advice
A recent poll reveals that a significant portion of Americans remain cautious about trusting Health Secretary Robert F. Kennedy Jr.’s medical...
September 19, 2025 -
`
 Why Tariffs Could Make Car Insurance Rates Worse
Car insurance costs in the U.S. are climbing, and new tariffs could make the problem worse. Shoppers are already feeling the...
September 11, 2025
More From CashRoadster
-
 How Choosing the Right IDV Can Save You Money on Car Insurance
Buying a car is a milestone for many families. It brings convenience, independence, and comfort. Alongside this joy comes the responsibility...
Car InsuranceMarch 27, 2026 -
 Car Theft Is Dropping, But These Car Models Are Still at Risk
Car theft in the United States has started to decline. According to a Mercury Insurance report using National Insurance Crime Bureau...
Auto NewsMarch 20, 2026 -
 New Bill Proposes Major Changes to Roundabout Driving Laws
Kansas drivers may soon face new rules for navigating roundabouts. Currently, using a turn signal when changing lanes or exiting a...
DrivingMarch 13, 2026 -
 Do You Need Financial Advice for Elderly Care Planning?
Arranging care for an aging parent or relative often brings emotional strain and financial pressure at the same time. Families must...
AdviceMarch 7, 2026 -
 Why Car Insurance Premiums Are Dropping (But Not Everywhere!)
After several years of steep increases, car insurance rates finally show signs of relief in 2025. However, the improvement does not...
Car InsuranceFebruary 26, 2026
You must be logged in to post a comment Login