
How to Put a License Plate on a Car: The Ultimate Beginner’s Guide
Installing a license plate on a car is an essential skill for every driver. Whether you’ve just received new plates or need to replace old ones, knowing how to put a license plate on a car ensures that you’re always road-ready and legal. This guide provides a clear, step-by-step process to help you easily accomplish this task.
How to Put a License Plate on a Car in 7 Simple Steps
1. Gather Your Tools and Supplies
Before starting, ensure you have everything you need. Typically, this includes a Phillips or flathead screwdriver, your new license plate, and the appropriate screws. For new vehicles, these screws might be found in the glove compartment or center console. Having everything prepared will make the installation process smooth and efficient.
Ignacio Gregoroff | MSN | Before starting, ensure you have everything you need to attach the license plate.
2. Remove the Old License Plate
Begin by removing the existing plate. Use your screwdriver to unscrew the bolts holding the plate in place. Turn the screws counterclockwise to loosen them. Once the screws are out, place them in a safe spot, as you’ll need them to attach the new plate. Carefully take off the old plate and set it aside.
Ailén Laurens | MSN | Use your screwdriver to unscrew the bolts holding the existing plate in place.
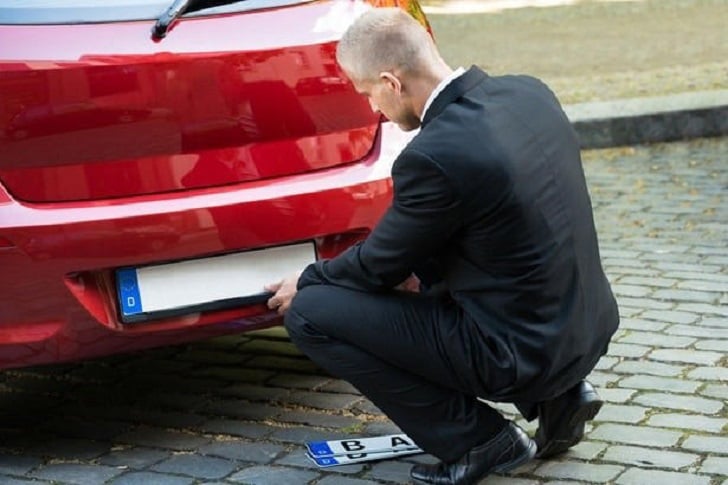
3. Align the New License Plate
Take your new license plate and position it so that the pre-drilled holes align with those on your vehicle’s bumper. Ensuring a proper alignment will make the attachment process straightforward and secure.
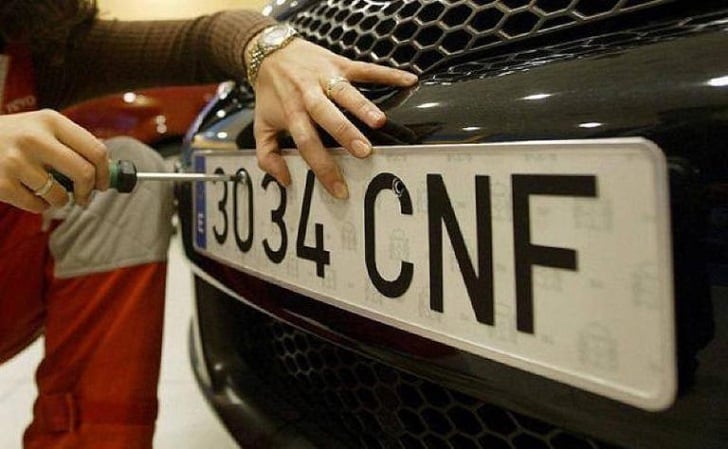
4. Attach the New License Plate
Using the screws you removed earlier, start securing the new plate. Insert the screws through the holes in the plate and into the vehicle’s bumper. Turn the screws clockwise until the plate is firmly attached. Be cautious not to overtighten, as this can strip the screws or damage the plate.
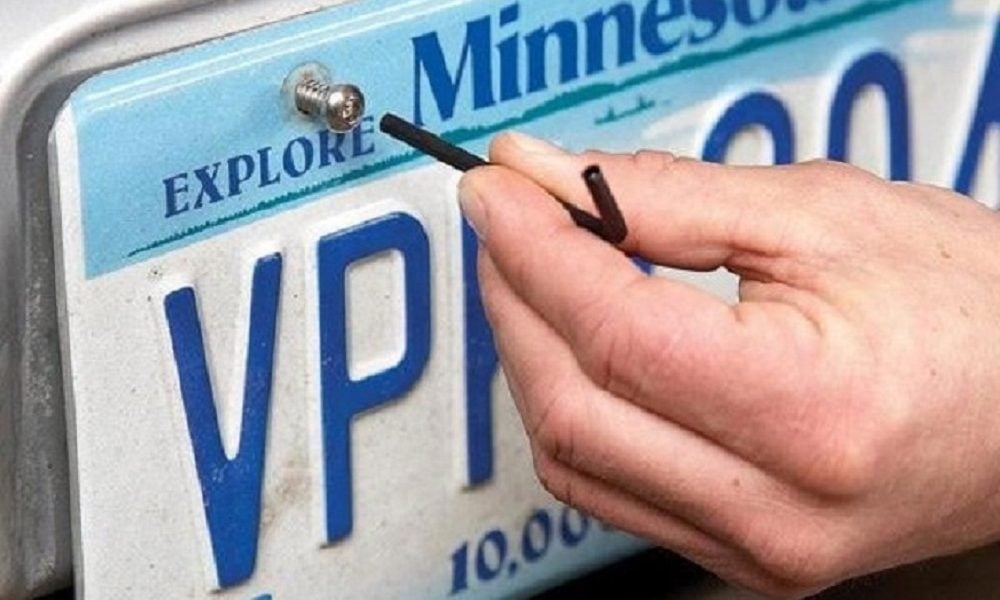
5. Affix the Expiration Date Sticker
Depending on your state’s requirements, you’ll need to place an expiration date sticker on the new plate. Typically, this sticker goes in the upper left or right corner of the plate. Some states may require you to place this sticker on the windshield instead, so check your local regulations to be sure.
6. Store Your Vehicle’s Registration
Once your new license plate is securely attached, place your vehicle’s registration receipt in the glove box along with your owner’s manual and insurance card. Keeping these documents handy ensures you have proof of registration and insurance available if needed.
7. Final Check
After completing the installation, give the plate a final check. Ensure that it is secure and positioned correctly. This quick verification step guarantees that your plate is properly mounted and ready for the road.

@slumerican | Instagram | After completing the installation, give the plate a final check.
Tips for a Smooth Installation
- Check State Requirements: Different states have specific guidelines for license plate placement and sticker application. Always verify your state’s requirements to ensure compliance.
- Keep Extra Screws Handy: Over time, screws can become worn or lost. Having extras on hand can save time and frustration during installation.
- Use the Right Screwdriver: Using the appropriate screwdriver, whether Phillips or flathead, will make removing and attaching screws much easier and prevent damage to the screws or plate.
By following these steps, installing a license plate on your car becomes a simple task that can be completed in minutes. Proper installation not only keeps you compliant with state laws but also ensures that your vehicle looks neat and well-maintained.
More inAdvice
-
`
 Why Car Insurance Premiums Are Dropping (But Not Everywhere!)
After several years of steep increases, car insurance rates finally show signs of relief in 2025. However, the improvement does not...
February 26, 2026 -
`
 Canada Unveils New Auto Industry Strategy, Shifts Away From U.S.
Canada is recalibrating its auto policy at a pivotal moment for North American manufacturing. Prime Minister Mark Carney introduced a new...
February 21, 2026 -
`
 Van Driver Loses License After Blaming Dog for Railway Station Crash
A morning crash at a busy railway station in North Yorkshire ended with a driving ban after a van driver blamed...
February 14, 2026 -
`
 How Thermal Imaging Helps Homeowners Cut Energy Bills and Emissions
Rising energy costs and growing climate concerns have made home efficiency a priority for many households. In parts of southwest England,...
February 5, 2026 -
`
 How to File an Auto Insurance Claim – A Complete Guide
A car accident can leave anyone shaken. In those moments, knowing what to do next keeps both safety and finances protected....
January 31, 2026 -
`
 Are Violent Video Games Like GTA 6 Becoming Too Real?
Video game visuals have entered a new phase. Faces look scanned from real life, lighting reacts like a movie set, and...
January 24, 2026 -
`
 The Surprising Effects of Music on Your Driving Performance
Music and driving often go hand in hand. For many drivers, a car ride feels incomplete without a song playing in...
January 17, 2026 -
`
 How to Escape the 9-to-5 Grind and Achieve Work-Life Balance
Work sits at the center of many New Year’s resolutions in the United States. Pew Research reports that nearly one in...
January 11, 2026 -
`
 Understanding How Split Limits Work in Auto Insurance Policies
When it comes to auto insurance, understanding how coverage limits work is essential for making informed financial choices. One important concept...
January 1, 2026
More From CashRoadster
-
 Why Tesla’s Promise of Unsupervised Driving Is Facing Major Roadblocks
For years, Tesla’s promise of Full Self-Driving (FSD) has stood at the center of excitement, debate, and expectation. What started as...
DrivingMay 31, 2026 -
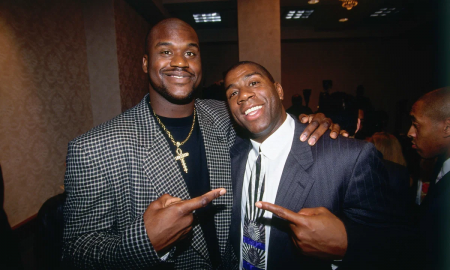 Magic Johnson’s Wealth Advice That Made Shaq O’Neal a Millionaire
Shaquille O’Neal made millions on the basketball court, but the real money came after the games ended. The turning point did...
AdviceMay 30, 2026 -
 Why “Grow Faster” Is Often the Most Misleading Advice for Founders
Every founder hears the same message at some point: grow faster. Increase revenue, expand the client base, scale operations, and push...
AdviceMay 24, 2026 -
 Insurance Companies are ‘Totaling’ More Cars Even After Minor Crashes, Here’s Why
A small crash used to mean a quick trip to the body shop. Now, it can mean losing your car entirely....
Car InsuranceMay 22, 2026 -
 When Car Insurance Costs the Most and Least in Your Lifetime
Car insurance prices rarely stay flat throughout life. Rates shift with age, driving experience, accident risk, and even lifestyle habits. A...
Car InsuranceMay 17, 2026
You must be logged in to post a comment Login